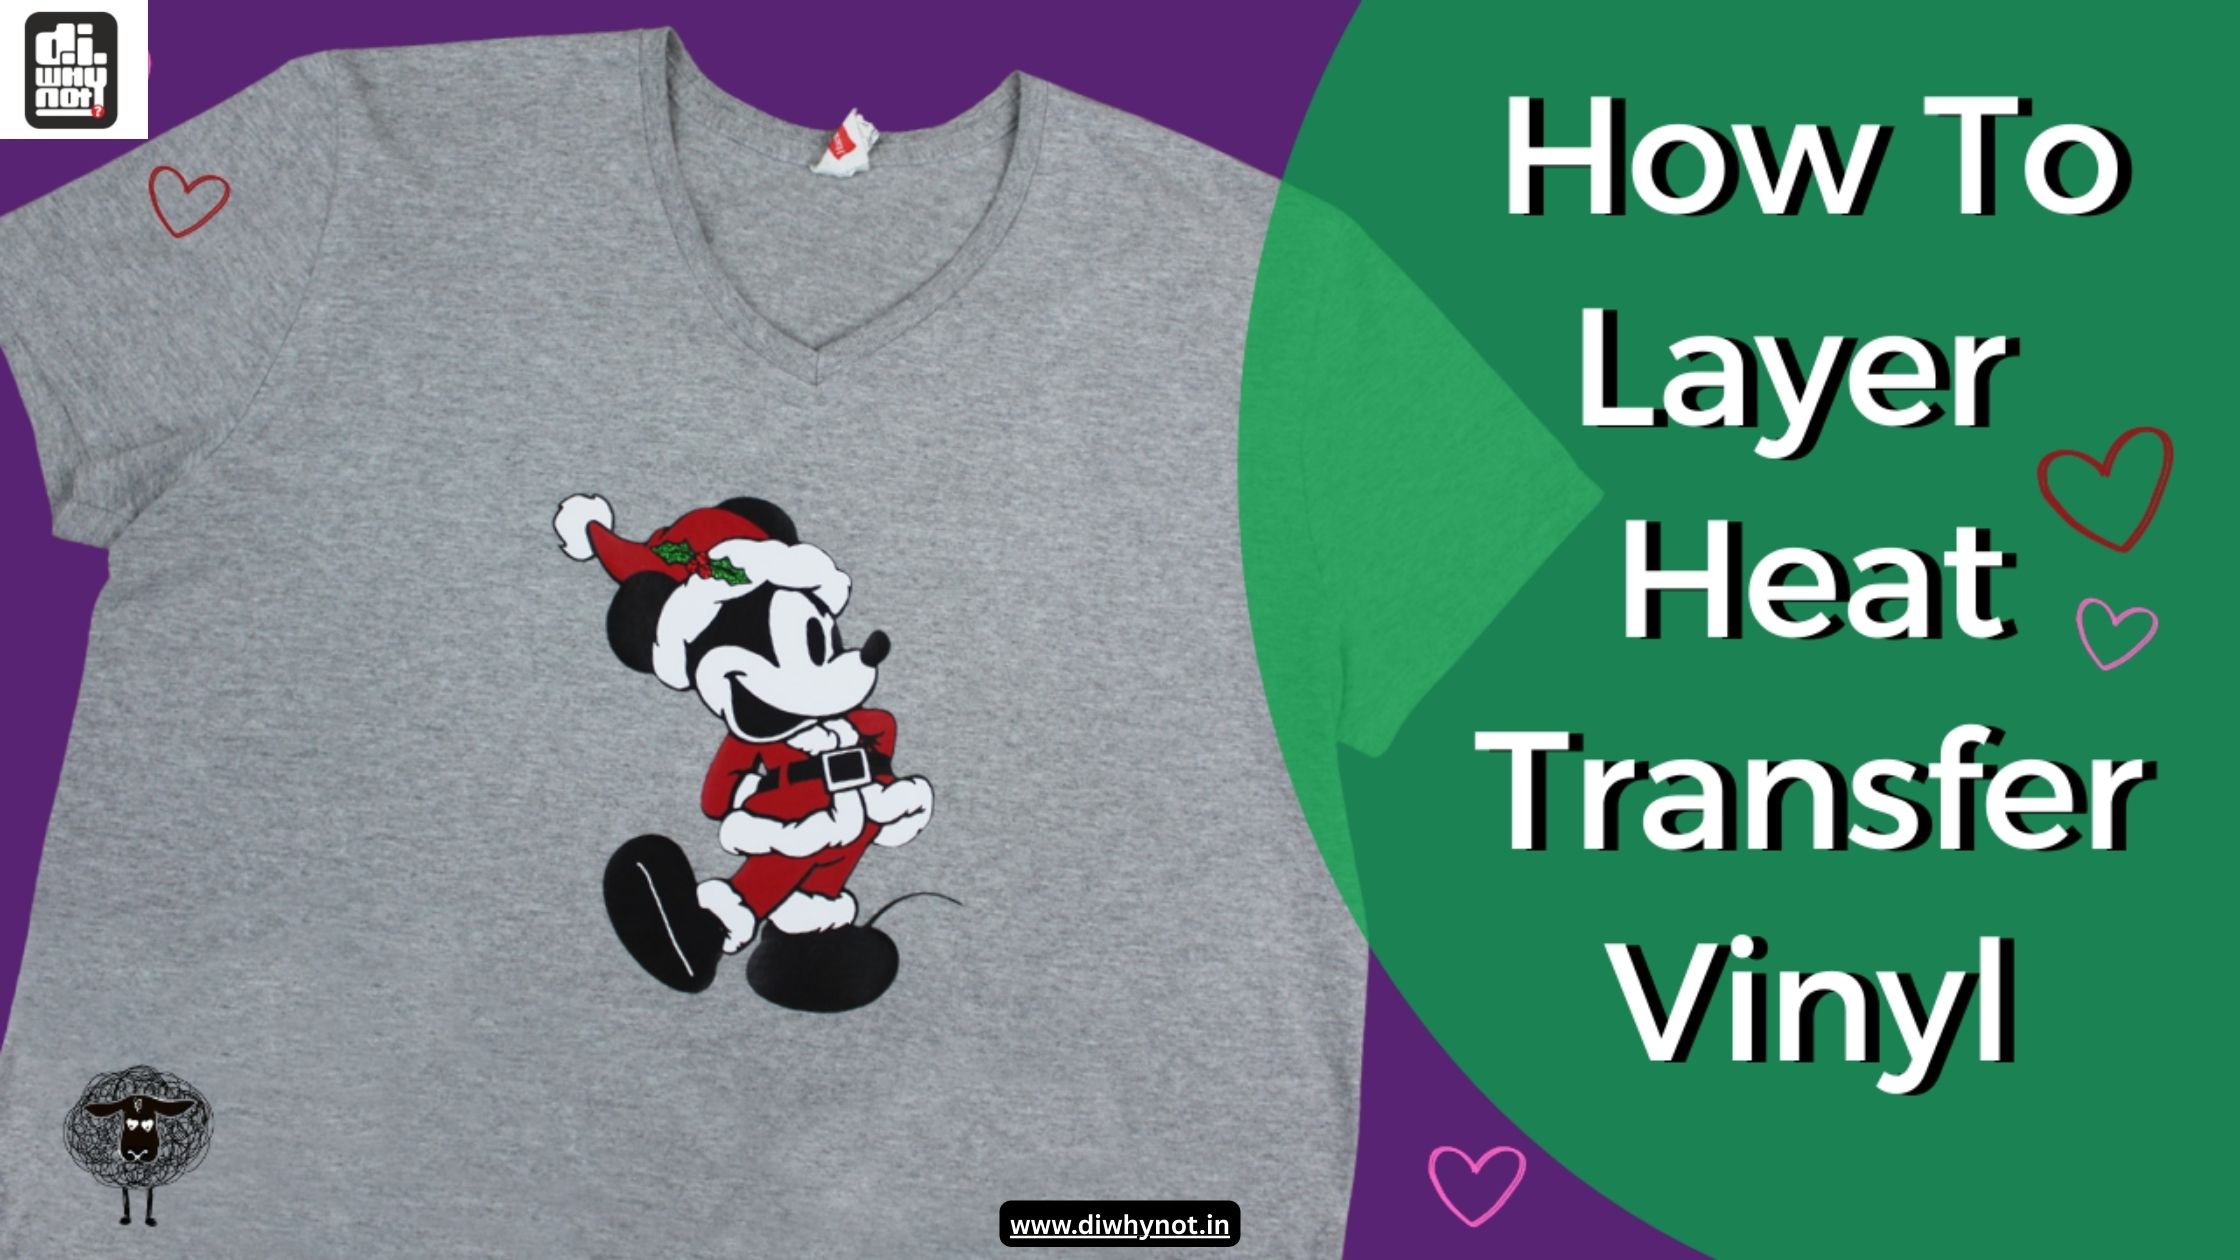
If you have ever found yourself admiring a custom t-shirt or a bag with a cool and vibrant design, then the design may have been created using Heat Transfer Vinyl. This incredibly adaptable media has garnered fame amongst DIY enthusiasts, small business owners, and fashion creatives.
Whether you’re just a novice in crafting or considering it as a side business, here is all the information you need to get started with HTV.
Understanding Heat Transfer Vinyl (HTV)
Heat Transfer Vinyl, also known as HTV, is a special vinyl that can be cut into a design and heat-pressed with pressure onto textile surfaces. One side of the vinyl has a plastic carrier sheet, while the other side has an adhesive that activates when heat is applied.
During the heat application, which is mostly achieved with a heat press or iron, the adhesive melts and sticks to the fabric while producing a lasting design, which is often washable.
What are the Different Types of HTV?
The multitude of styles available in HTV include the following:
- Standard (Matte/Glossy): Basic HTVS for day-to-day projects.
- Glitter: Adds sparkle to your designs and is immensely popular for kids’ apparel and festive decor.
- Foil: Shiny metallic finish; glamorous.
- Holographic: Reflecting different colours like a rainbow when seen at an angle.
- Flocked: Soft, suede-like texture.
- Stretch HTV: Suited for activewear and any material that needs flexibility.
Each type has its own temperature and pressing requirements, so always check the manufacturer’s directions.
What Do You Need To Get Started With Heat-Press Vinyl?
If you are interested in HTV, you need to make sure that you have the following items with you.
- Vinyl Cutter: Machines that enable you to cut custom designs, i.e. Cricut and Silhouette.
- Weeding Tools: To weed out excess vinyl from your design.
- Heat Source: A heat press will give the best results, but the home iron works for beginners.
- Blank Items: T-shirts, canvas bags, pillow covers, etc., or wood for creative projects.
What is the correct process to use HTV?
- You are first required to design your artwork with software compatible with your cutting machine. Before cutting, you need to mirror the design, especially the letters.
- Place the vinyl down with the carrier sheet on the bottom and cut.
- Weed out any excess vinyl, leaving only the design on the carrier.
- Preheat your fabric for a few seconds to get rid of some moisture.
- With the carrier sheet on the top, place your design onto your fabric.
- Press with heat and pressure as recommended, and then peel the carrier sheet.
Where can you use Heat Transfer Vinyl?
HTV will adhere to cotton, polyester, cotton-poly blends, and even some treated leathers and woods. Certain items that you can use for HTV are:
- Custom apparel (teeshirts, hoodies, baby clothes)
- Tote Bags and Hats
- Home Decor (pillows and signs)
- Team Tracksuits and Uniforms
Heat Transfer Vinyl is a great avenue to customise your world with creativity and style. With a few tools and some practice, anyone can turn blank items into professional-looking products.
Explore high-quality HTV materials, tools, and guides at Diwhynot — your one-stop shop for turning ideas into custom creations with ease.
Read More: Everything you need to know about Heat Transfer Vinyl


