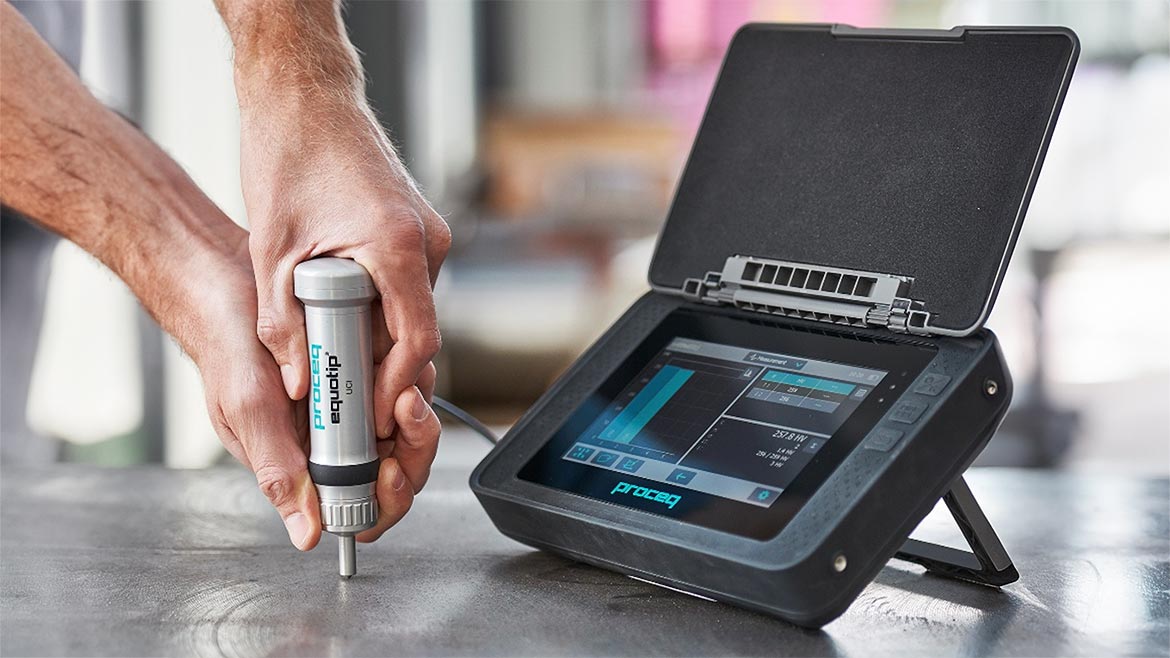
If you’re working in quality control, materials testing, or field inspections, you probably already know that a portable hardness tester is an absolute game-changer. These devices help you quickly assess the hardness of metals, plastics, or other materials without having to bring samples into the lab. But here’s the kicker—if your tester isn’t properly calibrated, those readings could be misleading, costing you time, money, and even customer trust.
So let’s walk through how to calibrate your portable hardness tester in Toronto, ON the right way. Whether you’re new to the process or just need a refresher, this guide will help ensure your readings are reliable, consistent, and industry-compliant.
Why Calibration Matters
Before diving into the how-to, it’s important to understand why calibration matters in the first place.
Calibration is all about accuracy. When your device is calibrated, it means its readings are aligned with a known standard. If the tester is off—even slightly—it can lead to incorrect evaluations of a material’s hardness. And that can trigger all kinds of issues, especially in safety-critical industries like aerospace, automotive, construction, or pharmaceuticals.
Portable hardness testers can drift out of spec due to:
- Daily use or drops
- Temperature changes
- Vibration during transport
- Natural wear over time
That’s why routine calibration is not optional—it’s essential.
Step-by-Step Guide to Calibrate a Portable Hardness Tester
Let’s break down the process into manageable steps. While some steps may vary depending on the brand or model of your device (Leeb, UCI, Rockwell, etc.), the general approach is pretty universal.
Step 1: Read the Manufacturer’s Manual
Sounds obvious, right? But it’s surprising how many users skip this. Different models have different calibration methods, menus, and verification options. Before anything else, consult the manual. It will tell you:
- What calibration standards to use
- How many calibration points are needed
- Which procedures are built into the software
If you’ve misplaced your manual, don’t worry—most are available online.
Step 2: Prepare a Standard Test Block
Calibration requires a reference block—a piece of material with a certified hardness value (e.g., HRC 60). You can get these blocks calibrated and certified by an accredited lab. This ensures you’re comparing your readings against a known, traceable standard.
Make sure the block:
- Matches the material type you commonly test (steel, aluminum, etc.)
- Is clean and undamaged
- Lies flat on a solid surface
Pro tip: Use at least two blocks of varying hardness if your tester supports multi-point calibration. This improves accuracy across a wider range.
Step 3: Clean the Probe and Surface
Before taking any measurements, clean the surface of the test block and the tester’s probe. Even tiny dust particles or oil can impact readings.
Use a lint-free cloth or alcohol wipe to:
- Clean the probe tip
- Wipe down the test block surface
If your tester uses impact devices (like Leeb testers), also inspect the impact body for wear or deformation.
Step 4: Perform the First Reading
Now, it’s time to take a few test readings on your standard block. Here’s how:
- Place the probe flat and perpendicular to the test surface.
- Avoid applying extra pressure—let the device do the work.
- Take at least five readings and average them out.
Compare the average result to the certified hardness value of your block. If they match within the allowed tolerance, your device is still calibrated. If not—keep going to the next step.
Step 5: Adjust Calibration Settings
If your readings are off, most digital portable hardness testers will let you manually calibrate or auto-calibrate.
For manual calibration:
- Go into the device settings.
- Enter the correct value from the test block.
- Save the settings.
For automatic calibration:
- Follow on-screen instructions to apply the correction after test readings.
- The tester may automatically compute and adjust for the deviation.
Always re-test after calibration to verify the new readings are accurate.
Step 6: Save and Document Calibration Data
Once your tester is correctly calibrated, save the calibration data if your device allows it. Many modern testers have internal memory or USB connections for this.
Also, keep a record of your calibration for quality control or ISO documentation purposes. Note:
- Date of calibration
- Model and serial number of the tester
- Type and value of the reference block used
- Calibration results
This documentation is especially useful if you’re in a regulated industry like aerospace or pharmaceuticals.
Step 7: Calibrate Regularly
Don’t just calibrate once and forget about it. Depending on how frequently you use your device, you may need to calibrate:
- Before every use (especially in critical applications)
- Daily or weekly for frequent use
- Monthly or quarterly for occasional use
- After a fall, impact, or extreme temperature exposure
Pro Tips for Better Accuracy
Here are a few bonus tips to help you get the best possible results:
- Use the same orientation every time for consistency.
- Don’t test near the edge of a part.
- Avoid curved surfaces unless your device is designed for them.
- Don’t rely on a single reading—take a series and average them.
- Always recalibrate when switching to a different material type.
Looking for a Reliable Portable Hardness Tester in Toronto?
If you’re based in Toronto, Ontario, and looking for a trustworthy source to buy or calibrate your portable hardness tester, consider Portable Hardness Tester. They’re known for offering high-quality, user-friendly devices with excellent local support. Whether you’re in the lab or in the field, they’ll help you choose the right model and keep it calibrated for peak performance.
Final Thoughts
Calibrating a portable hardness tester isn’t just a technical routine—it’s the foundation of accuracy and reliability in your material testing workflow. Whether you’re testing stainless steel in a manufacturing plant or validating coatings in the field, knowing your readings are spot-on gives you confidence in your results.
So take a few extra minutes to calibrate. Your data—and your customers—will thank you for it.


