Refinishing hardwood floors is both an art and a science. While equipment, finishes, and techniques play critical roles in a successful outcome, one factor often underestimated is the choice of sandpaper grits. Selecting the right grit sequence ensures a smooth, even surface while protecting the integrity of the wood and achieving professional-grade results.
In this in-depth guide, we’ll demystify sandpaper grit levels, explain how they work, outline the correct sanding process for US hardwood floors, and help homeowners and contractors avoid costly mistakes during refinishing projects.
Why Sandpaper Grit Selection Matters in the US Flooring Market
In the US, where homes range from historic bungalows to modern open-plan spaces, hardwood floors come in various wood species, finish types, and levels of wear. An improper grit sequence or skipped steps can result in:
- Uneven, blotchy finishes
- Deep scratches visible under clear coats
- Premature wear or finish failure
- Increased labor and material costs
Refinishing projects require a systematic grit progression to gradually smooth the surface while removing old finish, scratches, and imperfections.
Understanding Sandpaper Grit Numbers
Sandpaper is graded by grit numbers — the lower the number, the coarser the abrasive. Higher numbers represent finer grits for smoother finishes.
|
Grit Number |
Type |
Purpose |
|
16–24 |
Very Coarse |
Heavy stock removal, old finish stripping |
|
36–40 |
Coarse |
Aggressive sanding, leveling uneven boards |
|
60–80 |
Medium |
General sanding, removing scratches from coarse grit |
|
100–120 |
Fine |
Surface smoothing before finishing |
|
150–180 |
Very Fine |
Light sanding between finish coats |
|
220+ |
Extra Fine |
Final buffing or specialty applications |
The Standard US Grit Progression for Hardwood Floor Refinishing
Most US flooring contractors and manufacturers recommend the following grit sequence for solid and engineered hardwood floors:
- Start with 36–40 grit: Removes old finish, deep scratches, and minor cupping. Skipping this can leave flaws that higher grits won’t fix.
- Progress to 60 grit: Eliminates marks left by coarse sanding.
- Move to 80 grit: Smooths the surface further, removing 60-grit scratches and preparing the wood for finishing.
- Optional: Finish with 100–120 grit: Especially for softer woods like pine, or when using waterborne finishes which raise the wood grain.
Skipping grit levels can leave visible swirl marks or sanding lines that appear more pronounced after applying finish.
Factors Influencing Grit Selection in the USA
Wood Species
- Hardwoods (oak, maple, hickory): Can handle lower starting grits (36–40)
- Softwoods (pine, fir): Require finer starting grits (60) to avoid deep gouging
Existing Floor Condition
- Heavily worn, painted, or shellac-coated floors: May need 16–24 grit to remove stubborn finishes
- Lightly worn floors: Can begin at 60–80 grit
Desired Final Appearance
- High-gloss finishes: Require finer sanding (100–120 grit) for a flawless reflection
- Matte or satin finishes: Less prone to showing minor imperfections; 80 grit may be sufficient
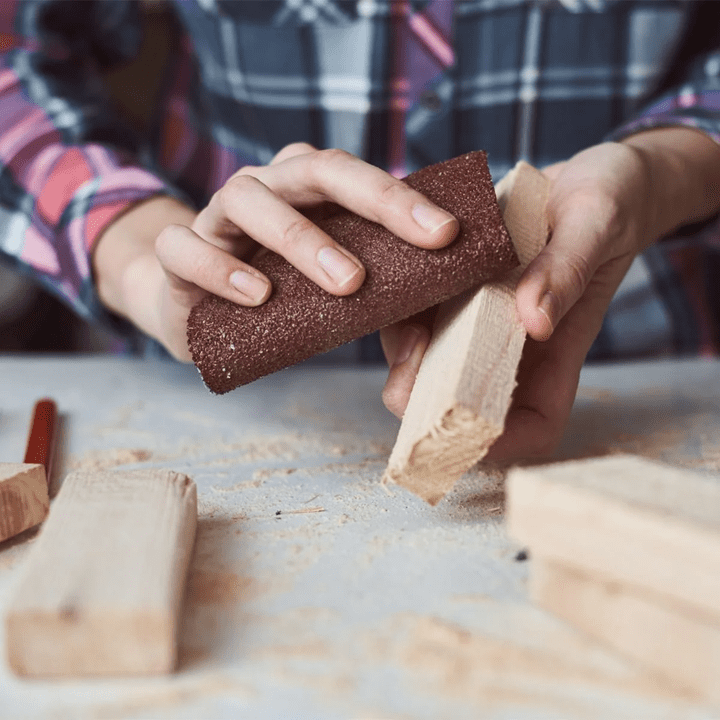
Common Sandpaper Types for US Hardwood Floor Refinishing
Not all sandpaper is created equal. For hardwood floors, choose:
- Aluminum Oxide: Long-lasting, ideal for coarse and medium grits
- Silicon Carbide: Best for fine finishing and between-coat sanding
- Zirconia Alumina: Aggressive cutting action for heavy stock removal
Most US contractors use belt sanders, drum sanders, and edgers with these abrasives for optimal results.
Pro Sanding Techniques for Flawless Results
Work in Sequence
Always follow a proper grit progression without skipping stages. Each finer grit removes the scratches from the previous grit.
Vacuum Thoroughly Between Grits
Leftover dust can contaminate sanding screens and scratch the floor surface.
Sand with the Grain
Especially important for the final grit to minimize cross-grain scratches that might show under finish.
Maintain Proper Machine Speed and Pressure
Excessive pressure or standing still with a sander can leave gouges or dips.
Edge Sand Carefully
Use a compatible grit on edgers and orbital sanders to match the field sanding for seamless blending.
FAQs
Q1: What grit should I start with when sanding hardwood floors?
A: Most US floors start at 36–40 grit for old finish removal, but heavily damaged or painted floors might require a coarser 16–24 grit.
Q2: Can I skip grit levels to save time?
A: No. Skipping grits leaves deep scratches and swirl marks that will show after finishing. Always follow a proper progression: 36 → 60 → 80 (→ 100–120).
Q3: How many sanding passes do I need for refinishing?
A: Typically three to four passes — each with progressively finer grits to eliminate previous scratches and prepare the floor for finishing.
Q4: What’s the best sandpaper type for hardwood floors?
A: Aluminum oxide for general sanding, silicon carbide for fine sanding, and zirconia alumina for heavy removal tasks.