
Ever handed back keys to a rental property only to hear from the real estate agent that your bond might take a hit because of lingering grime? That’s where bond clean comes in. If you’re a tenant wrapping up a lease, bond cleaning—also known as end-of-lease cleaning—is your best friend. It’s a thorough deep clean designed to restore the property to its original condition, maximizing your chances of getting your full security deposit back. Think of it as the ultimate “thanks for having me” to your landlord, minus the awkward hug.
Bond cleaning isn’t just wiping down surfaces; it’s a systematic process that tackles every nook and cranny. In regions like Australia, where rental bonds are standard (often held by bodies like the Residential Tenancies Authority), this service aligns with strict guidelines. Landlords expect the place to look as good as—or better than—move-in day, minus fair wear and tear. Skipping it can lead to deductions for things like stubborn stains or dusty vents, so let’s break it down step by step.
Why Bond Cleaning Matters More Than You Think
Renting comes with its perks—no maintenance hassles, flexible locations—but the bond refund process can feel like a high-stakes game. Bonds typically cover two to four weeks’ rent, so losing even a portion stings. Bond cleaning addresses this head-on by meeting legal standards. For instance, in Queensland, tenancy laws require tenants to leave the property “reasonably clean,” but real estate checklists often demand more: spotless kitchens, gleaming bathrooms, and odor-free carpets.
Beyond finances, it’s about peace of mind. A professional bond clean frees you from the scrubbing marathon, especially if life’s busy with packing or a new job. Studies from rental dispute tribunals show that properties undergoing bond cleaning face 80-90% fewer claims. It’s not magic; it’s methodical. And for landlords, it means quicker re-letting, which keeps everyone happy.
What Does a Standard Bond Clean Actually Involve?
Picture this: a team armed with eco-friendly cleaners, steam mops, and high-reach vacuums descends on your rental. They follow a room-by-room checklist that’s stricter than your average spring clean. Here’s the typical rundown:
- Kitchen Deep Dive: Ovens get dismantled and degreased inside and out—think burnt-on spills vanished with baking soda pastes or specialized removers. Range hoods, splashbacks, cupboards (inside and out), benchtops, sinks, and even the dishwasher’s filter get scrubbed. Fridges? Emptied, defrosted, and wiped to banish odors.
- Bathrooms Transformed: Tiles sparkle after mold-killing treatments, grout shines with whitening agents, and mirrors get streak-free polish. Toilets, vanities, showers, and exhaust fans receive elbow-grease attention. No more limescale rings or soap scum.
- Bedrooms and Living Areas: Dust bunnies flee from skirting boards, light fittings, doors, and architraves. Windows inside and out gleam, blinds are vacuumed, and floors—whether carpet, tiles, or timber—are steam-cleaned or mopped to perfection.
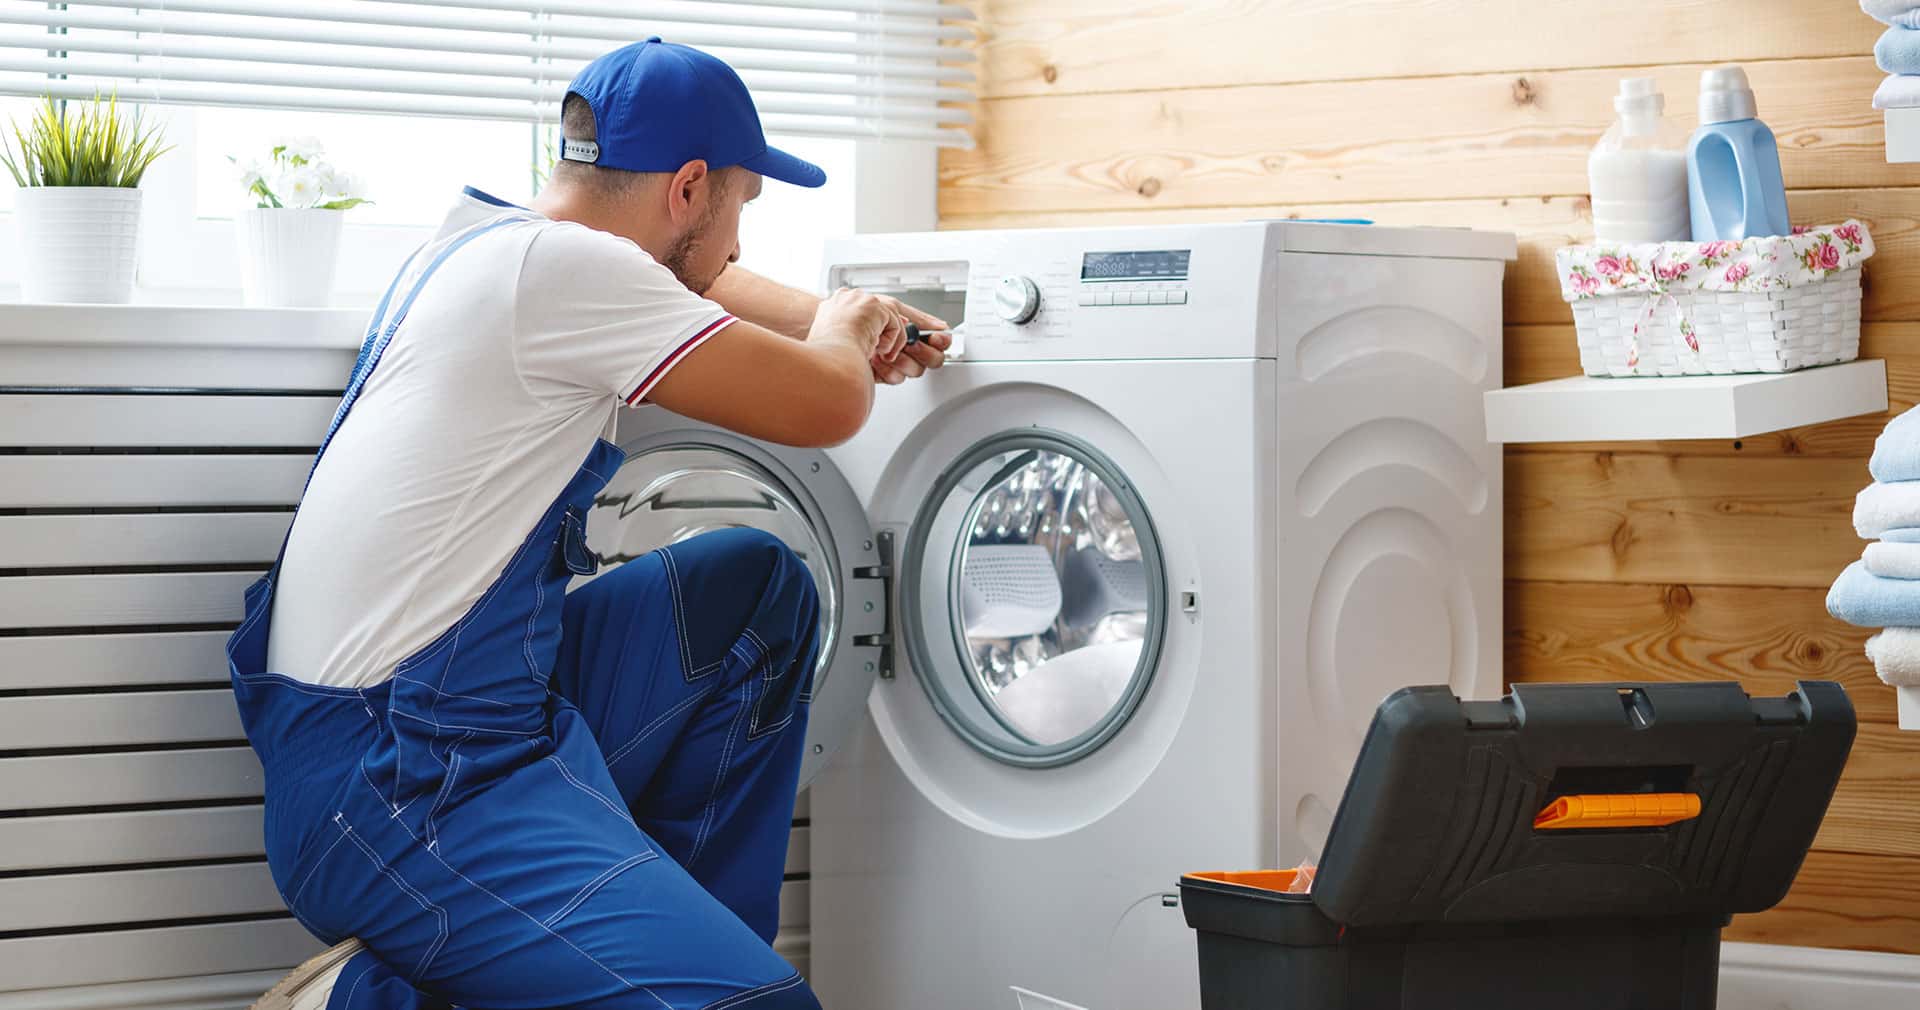
- Laundry and Extras: Tumble dryers, washing machines, and ironing boards get detailed. Walls are spot-cleaned (not repainted unless damaged), and outdoor areas like patios might include sweeping if specified.
Pro tip: Always check your lease or state-specific bond clean checklists (available online from tenancy authorities) to customize. Some include extras like pest control checks or balcony clears.
DIY Bond Cleaning: Can You Pull It Off?
Absolutely, if you’re handy and have time. Start two days early to avoid rush jobs. Gather supplies: white vinegar for glass, bicarbonate soda for ovens, microfiber cloths for dust, and a carpet steamer rental. Work top-to-bottom, room-by-room—dust lights first, then floors last.
Step-by-step example for the kitchen:
- Empty everything and wipe shelves.
- Spray ovens with a natural mix (vinegar + dish soap) and let sit overnight.
- Scrub benches with hot soapy water.
- Polish taps and test appliances.
Time it right: A two-bedroom unit might take 8-12 hours solo. Safety first—ventilate for fumes and use gloves. Compare costs: DIY saves $200-400 but risks missing spots; pros charge $250-275 depending on size and estimated price.
Hiring Pros: What to Look For
If DIY sounds exhausting, bond cleaning services are widely available. They use commercial-grade tools like high-pressure steamers that kill 99% of bacteria without harsh chemicals. Expect insured teams with police checks, bonded guarantees (they redo if the landlord complains), and before-after photos.
Vet them wisely:
- Read reviews on platforms like Google or ProductReview.com.au.
- Confirm they follow Australian Rental Cleaning Standards (e.g., from the Real Estate Institute).
- Ask about green products if allergies are a concern.
Common Pitfalls and How to Dodge Them
Even pros slip up. Tenants often forget:
- Carpets: Vacuuming isn’t enough; steam cleaning extracts deep dirt. Pet owners, note urine odors need enzyme treatments.
- Windows and Tracks: Sliding door tracks hoard grime—scour them.
- Lights and Fans: Cobwebs here trigger deductions.
- Documentation: Take move-in photos and get a pre-inspection.
Bond Cleaning in Different Regions
While “bond clean” screams Australia, equivalents exist worldwide. In the UK, it’s “end-of-tenancy clean” under assured shorthold tenancies. New Zealand calls it “bond back clean.” US states like California emphasize “move-out cleans” for security deposits. Adapt to local laws—always.
Wrapping Up: Leave on a High Note
Bond cleaning turns a stressful lease end into a smooth handover. Whether you roll up sleeves or call in experts, focus on thoroughness and checklists. You’ll not only snag your bond clean but also build a positive rental reference. Next time you’re packing boxes, remember: a clean exit paves the way for your next adventure.