You load a design, thread the first color, press the start button & everything looks perfect. Then, without any warning, the machine suddenly stops. If you are new to this field, then this can be difficult for you. Many people think something went wrong with the machine but the actual problem is file. In most situations, the machine reaches a programmed color stop in the embroidery DST file and waits for you to take the next step.
Well I have seen this happen many times when helping embroidery shops test new designs before they start working. The first reaction is usually to restart the machine or load the design again. Actually, that creates more problems because the machine is doing exactly what the design tells it to do. Once you understand how color changes work, those unexpected stops become part of a smooth embroidery process instead of a frustrating interruption.
Why Your Embroidery Machine Pauses Mid Design?

An embroidery machine follows every stitch command in the design file. It never understands what comes next. When the design reaches a color change command, the machine pauses because it needs your input before continuing. That pause protects the design from stitching the next section with the wrong thread color.
If you work on commercial machines on a daily basis, these stops quickly become routine. Even experienced operators watch for them because skipping a color change ruins a design look.
- The design reaches a programmed color stop.
Every color section ends with a stop command. The machine completes the current stitches, pauses automatically & waits until you change the thread before continuing. - The same thread color appears in different parts of the design.
Sometimes the machine stops even though the next section uses the same color. The digitizer separates objects to improve stitch quality or reduce gaps, so the pause is intentional. - A trim command comes before the next object.
Many designs trim the thread before moving to another area. After trimming, the machine pauses to keep the stitching sequence clean and organized. - The file was digitized for commercial production.
Professional digitizers add extra stops for quality checks. During large production runs, these pauses help operators inspect the embroidery before moving forward. - The design contains manual editing.
After making changes in embroidery software, an extra stop command remains in the file. I always check the stitch sequence before production because removing unnecessary stops saves valuable time.
How DST Files Store Color Change Information?
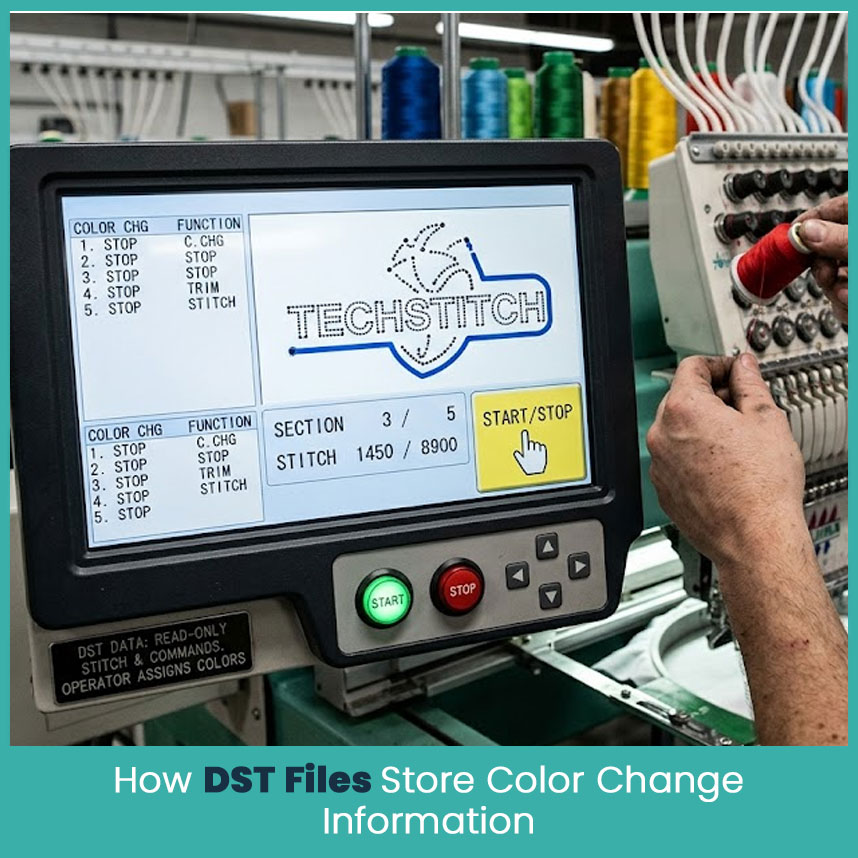
Many beginners expect a design file to remember the exact thread colors. That is not how a DST design works. The format mainly stores stitch coordinates and machine commands instead of thread names or color codes.
Basically, the machine recognizes a stop command, not a specific shade of red, blue, or green. The operator decides which thread goes into the needle during each pause.
- Each stop command separates stitch sections.
Instead of saving thread colors, the file marks the point where one section ends and another begins. The machine follows those commands one by one. - Thread colors come from the operator.
Your machine or embroidery software may display suggested colors, but those colors are reference information. The operator still selects the actual thread. - The stitch sequence controls the embroidery quality.
A good digitizer places color changes where they improve registration, reduce thread buildup & create cleaner embroidery. - Different machines read the same commands differently.
Some machines display color numbers, while others show the next needle or stop message. That depends on the machine brand rather than the design itself. - The file focuses on stitching accuracy.
Among all embroidery file formats, DST is still popular because it uses a simple structure that many commercial embroidery machines read without difficulty.
Reading Color Change Signals on Your Machine Screen

Every embroidery machine displays color stops in its own way, but the message usually means the same thing. The current color section is complete & the machine is waiting for the next thread before stitching continues.
Pretty soon, you start recognizing these messages without thinking again and again. After running hundreds of projects, reading the machine screen becomes part of the normal workflow.
- Watch for the stop notification.
Most machines display a stop icon, color number or needle change message. Read the screen before pressing the start button again. - Confirm the next thread color.
Compare the machine display with your project worksheet or design preview. This simple habit prevents accidental color mistakes. - Check the stitch location.
Before restarting, make sure the needle remains in the correct position. A shifted hoop or loose garment can create alignment problems after the pause. - Look for unexpected extra stops.
If the machine pauses several times within the same color section, review the stitch sequence in your embroidery software. An unnecessary stop command could be the reason. - Use the design preview when available.
Many advanced machines display the next stitching area. This quick preview makes it easier to understand why the machine stopped before you continue.
Fixing Wrong or Missing Color Stops Before You Stitch

It is always easier to fix a design before loading it into the machine than after the embroidery has already started. A quick review only takes a few minutes and can save fabric, thread, and production time.
Over the years, I have noticed that most stitching problems begin with skipping this simple step. A quick check in your embroidery software usually catches issues before they become major mistakes.
- Preview the complete stitch sequence.
Open the design in your embroidery software and play the stitch simulation from start to finish. This helps you spot missing or extra color stops before the design reaches the machine. - Merge duplicate color sections when needed.
Sometimes two sections use the same thread color but have separate stop commands. If there is no reason to keep them apart, combine them to reduce unnecessary machine stops. - Insert a missing stop command.
If two different thread colors stitch without a pause, add a color stop before exporting the design. This keeps every color section in the correct order. - Check every design after editing.
Whenever you resize, resequence, or edit a design, review the stitch order again. Even a small adjustment can change where a stop command appears. - Run a sample before production.
I always stitch one test sample before starting any project. A single sample quickly shows whether the color sequence works as expected and helps avoid wasting materials.
Restart Your Machine the Right Way After a Pause
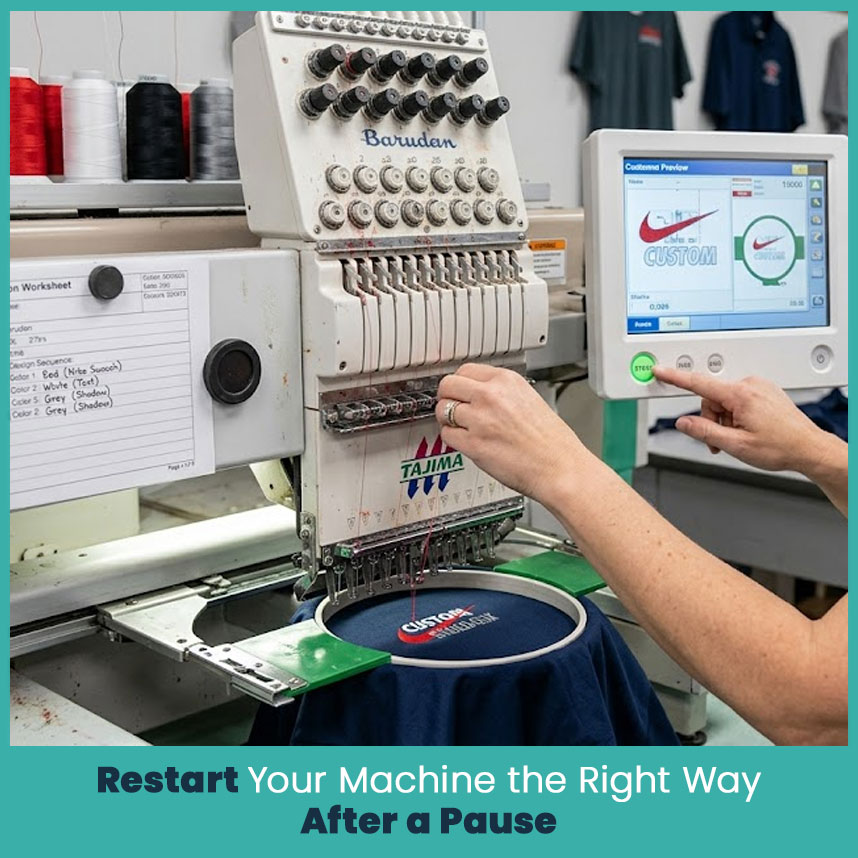
Once the machine stops, don’t rush to press the start button again. Take a moment to check the next thread, the hoop position & the design sequence. Those few seconds prevent a mistake that takes much longer to fix.
Well, experienced embroidery operators follow the same routine every time because consistency produces better embroidery. The machine only follows instructions, so the final quality depends on how carefully the operator handles each pause.
- Replace the thread before restarting.
Thread the correct needle, trim any loose thread tails & double check the thread path. A small threading mistake leads to thread breaks a few stitches later. - Check the hoop position.
Make sure the fabric hasn’t shifted while changing the thread. Even a slight movement can affect registration on detailed logos and lettering. - Press Start only after checking everything.
Take one final look at the screen and confirm the next color section. This habit keeps production running smoothly throughout the day. - Keep a production worksheet nearby.
Many professional shops write down every thread color and stitch sequence before production begins. This simple reference makes color changes much faster, especially on multi color designs created through custom embroidery digitizing.
FAQs
Troubleshooting steps for embroidery machine stopping during color commands.
Start by checking whether the stop is part of the design sequence. Then confirm the thread color, review the stitch order, and look for extra stop commands inside the design before restarting the machine.
How to troubleshoot machine stops caused by color changes in DST embroidery files?
Open the design in embroidery software and preview the stitch sequence. If you find duplicate or missing color stops, correct them before sending the file back to the machine.
What causes a DST file color change to interrupt embroidery stitching?
A color change command tells the machine to pause so the operator can switch thread colors. This is a normal part of the embroidery process and not a machine error.
Common reasons for incorrect colors appearing from DST embroidery files.
Incorrect colors usually happen because the wrong thread was selected after a machine stop or the production worksheet didn’t match the stitch sequence. Some embroidery companies also use different thread charts, so verifying colors before production is always a good practice.
Best software to fix DST file color changes that cause machine stoppages?
Professional embroidery software such as Wilcom EmbroideryStudio, Hatch Embroidery, Pulse, and Embrilliance makes it easy to review stitch sequences, edit color stops, and remove unnecessary pauses before stitching.
Author BioMatthew DavisSenior Embroidery Digitizer
I’m Matthew Davis, a skilled embroidery digitizer with more than 15 years of practical experience. I specialize in logo digitizing, 3D puff embroidery designs, applique digitizing, custom embroidery digitizing, and working with difficult fabrics. Over the years, I have worked with different fashion brands and production teams worldwide. I always share simple tips and useful techniques to help both beginners and businesses improve their embroidery work.